> ## Documentation Index
> Fetch the complete documentation index at: https://docs.goframe.dev/llms.txt
> Use this file to discover all available pages before exploring further.
# Inspector: clip properties
> Every Inspector section for video, image and audio clips: Position, Layout, Appearance, Anchor, Playback, Audio, Effects, Mask and canvas actions
The **Inspector** shows the properties of whatever is selected on the Timeline and lets you change them with exact numbers. Open it from the left sidebar in the **Editor** layout; until you select something it reads **Select a clip on the timeline to view its settings**.
This page walks through the sections for video, image and audio clips. Text and shape clips add their own sections, covered in [Text and shapes](/editor/text-and-shapes); animation is in [Animate clips with presets and keyframes](/editor/animation-and-keyframes); transitions and markers have small inspectors of their own, described in [Transitions](/editor/transitions) and [Timeline basics](/editor/timeline-basics).
 ## Which sections you see
| Clip type | Sections, top to bottom |
| --------- | ----------------------------------------------------------------------------- |
| Video | Position, Layout, Appearance, Anchor, Playback, Audio, Effects, Mask, Animate |
| Image | Position, Layout, Appearance, Anchor, Shadow, Effects, Mask, Animate |
| Audio | Playback, Audio, Animate |
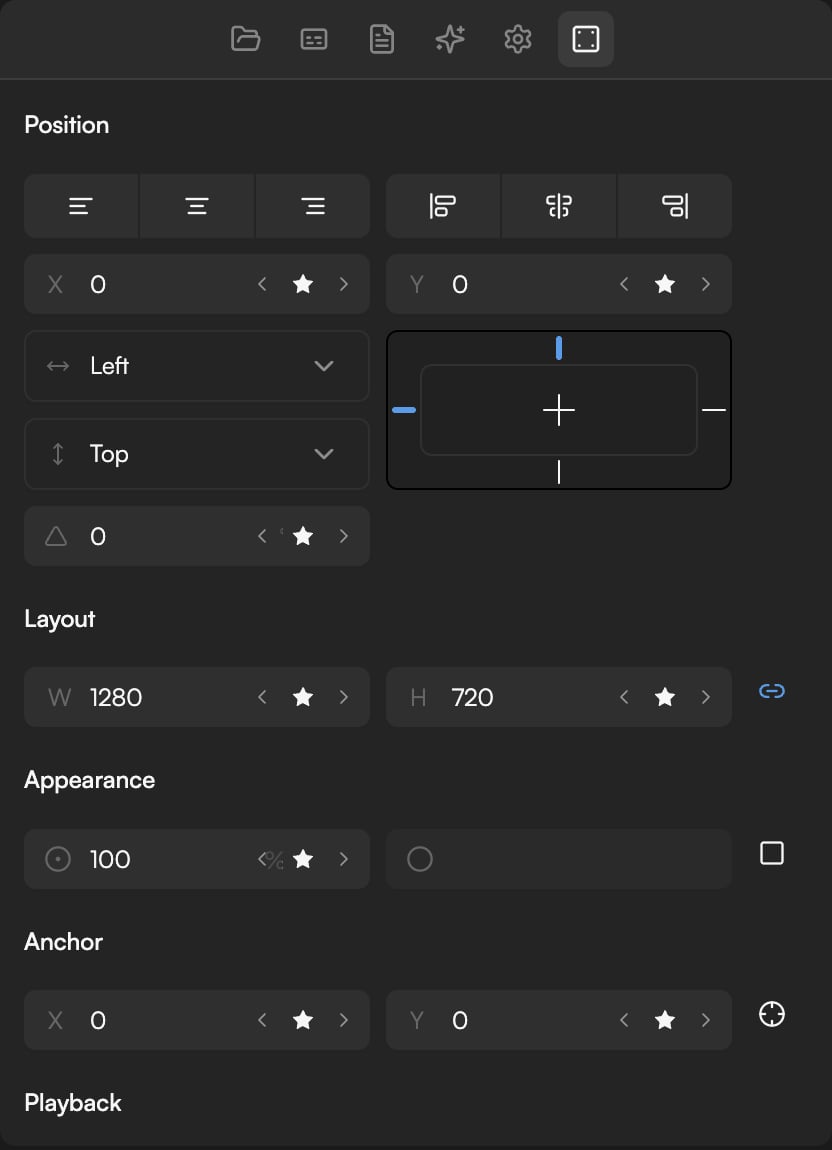
Every numeric field accepts typed values and also scrubs: press and drag left or right on the field to change it smoothly. Fields with a small star (★) next to them, such as **X** and **Y**, can be keyframed; see [Animate clips with presets and keyframes](/editor/animation-and-keyframes).
## Position
* **X** and **Y** set where the clip sits on the canvas, in pixels. The rotation field (°) turns the clip around its anchor.
* The row of buttons aligns the clip to the canvas: left, horizontal centre, right, top, vertical centre and bottom.
* Two constraint pickers (**Left** and **Top** by default) decide how the clip follows the canvas when the project size changes in [Project settings](/editor/project-settings).
## Layout
**W** and **H** in pixels. The link button between them keeps the proportions when you change one of them.
## Appearance
* **Opacity** from 0 to 100.
* Corner radius rounds the clip's corners.
* A blend-mode button sits at the end of the row.
## Anchor
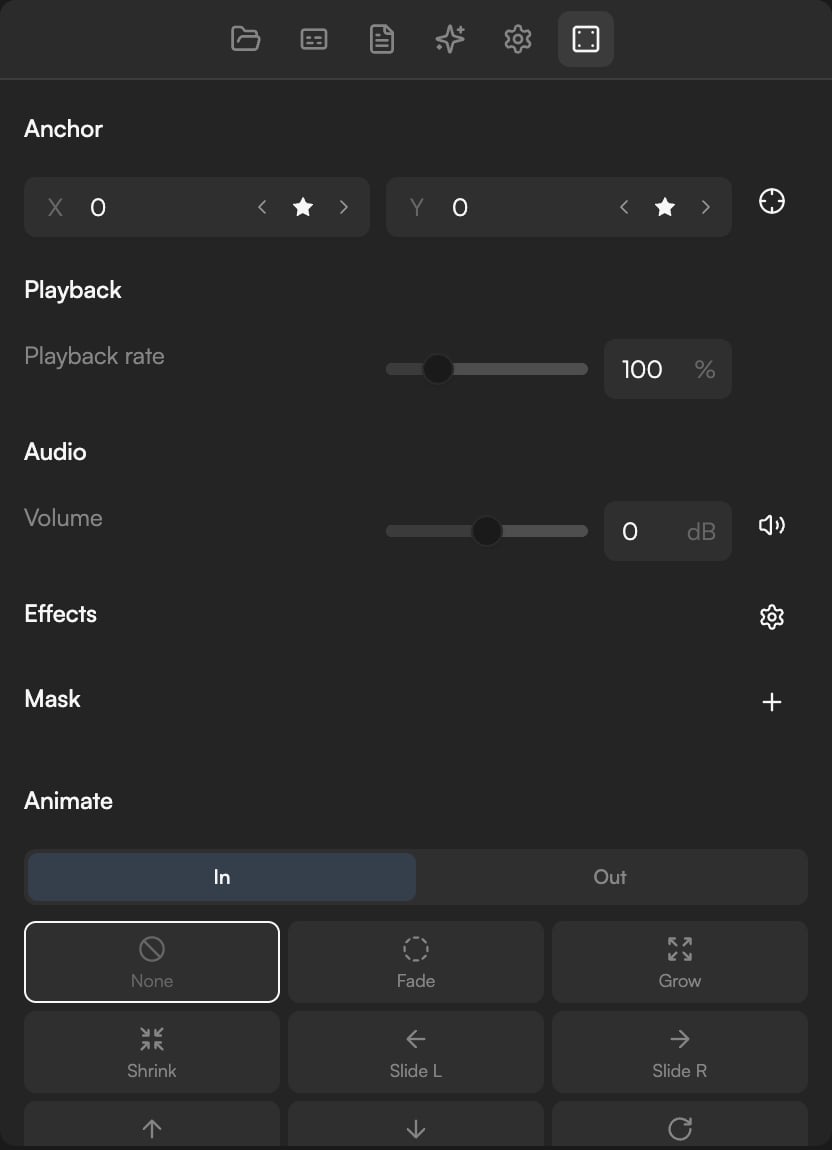
**X** and **Y** set the point the clip rotates and scales around, as a fraction of its size: 0.5 and 0.5 is the centre, 0 and 0 the top-left corner.
## Playback
**Playback rate** changes the speed of a video or audio clip as a percentage, from 20% (slow motion) to 400%.
## Audio
**Volume** in dB runs from −60 dB (silent) to +60 dB; 0 dB is the original level. To silence a whole track instead, use the speaker button on its header in the Timeline.
To fade sound in or out, use the **Gain** preset in the **Animate** section, or keyframe the volume; see [Animate clips with presets and keyframes](/editor/animation-and-keyframes). To lower music under speech across the whole project, ask the agent; see [Music and sound effects](/editor/music-and-sfx).
## Effects
Click the settings button in the **Effects** header to open **Effect Styles**. The **Filters** group holds six colour controls:
| Filter | Range |
| -------------- | ----------------------- |
| **Brightness** | 0–200 (100 = unchanged) |
| **Contrast** | 0–200 (100 = unchanged) |
| **Grayscale** | 0–100 |
| **Hue Rotate** | 0–360 degrees |
| **Invert** | 0–100 |
| **Saturate** | 0–200 (100 = unchanged) |
Use **Reset** in the popover to return every filter to its default.
## Which sections you see
| Clip type | Sections, top to bottom |
| --------- | ----------------------------------------------------------------------------- |
| Video | Position, Layout, Appearance, Anchor, Playback, Audio, Effects, Mask, Animate |
| Image | Position, Layout, Appearance, Anchor, Shadow, Effects, Mask, Animate |
| Audio | Playback, Audio, Animate |
Every numeric field accepts typed values and also scrubs: press and drag left or right on the field to change it smoothly. Fields with a small star (★) next to them, such as **X** and **Y**, can be keyframed; see [Animate clips with presets and keyframes](/editor/animation-and-keyframes).
## Position
* **X** and **Y** set where the clip sits on the canvas, in pixels. The rotation field (°) turns the clip around its anchor.
* The row of buttons aligns the clip to the canvas: left, horizontal centre, right, top, vertical centre and bottom.
* Two constraint pickers (**Left** and **Top** by default) decide how the clip follows the canvas when the project size changes in [Project settings](/editor/project-settings).
## Layout
**W** and **H** in pixels. The link button between them keeps the proportions when you change one of them.
## Appearance
* **Opacity** from 0 to 100.
* Corner radius rounds the clip's corners.
* A blend-mode button sits at the end of the row.
## Anchor
**X** and **Y** set the point the clip rotates and scales around, as a fraction of its size: 0.5 and 0.5 is the centre, 0 and 0 the top-left corner.
## Playback
**Playback rate** changes the speed of a video or audio clip as a percentage, from 20% (slow motion) to 400%.
## Audio
**Volume** in dB runs from −60 dB (silent) to +60 dB; 0 dB is the original level. To silence a whole track instead, use the speaker button on its header in the Timeline.
To fade sound in or out, use the **Gain** preset in the **Animate** section, or keyframe the volume; see [Animate clips with presets and keyframes](/editor/animation-and-keyframes). To lower music under speech across the whole project, ask the agent; see [Music and sound effects](/editor/music-and-sfx).
## Effects
Click the settings button in the **Effects** header to open **Effect Styles**. The **Filters** group holds six colour controls:
| Filter | Range |
| -------------- | ----------------------- |
| **Brightness** | 0–200 (100 = unchanged) |
| **Contrast** | 0–200 (100 = unchanged) |
| **Grayscale** | 0–100 |
| **Hue Rotate** | 0–360 degrees |
| **Invert** | 0–100 |
| **Saturate** | 0–200 (100 = unchanged) |
Use **Reset** in the popover to return every filter to its default.
 ## Mask
A mask shows only part of the clip. Click **Add Mask** in the section header, then choose a shape:
* **Rectangle**: **Distance left**, **Distance top**, **Width**, **Height** and a corner **Radius**.
* **Circle**: **Horizontal center**, **Vertical center**, **Width** and **Height** (an ellipse when the two differ).
The mask is also selectable in Preview, so you can drag it into place. **Remove Mask** clears it.
## Mask
A mask shows only part of the clip. Click **Add Mask** in the section header, then choose a shape:
* **Rectangle**: **Distance left**, **Distance top**, **Width**, **Height** and a corner **Radius**.
* **Circle**: **Horizontal center**, **Vertical center**, **Width** and **Height** (an ellipse when the two differ).
The mask is also selectable in Preview, so you can drag it into place. **Remove Mask** clears it.
 ## Shadow
Images and shapes have a **Shadow** section. Click **Add Shadow**, then the **Configure Shadow** button, to set a **Drop Shadow** with **Offset X**, **Offset Y**, **Blur** and **Color**. **Remove Shadow** takes it off again. Text has its own Shadow section with the same fields, alongside **Scale**, **Stroke**, **Glow** and **Text FX**; see [Text and shapes](/editor/text-and-shapes).
## Animate
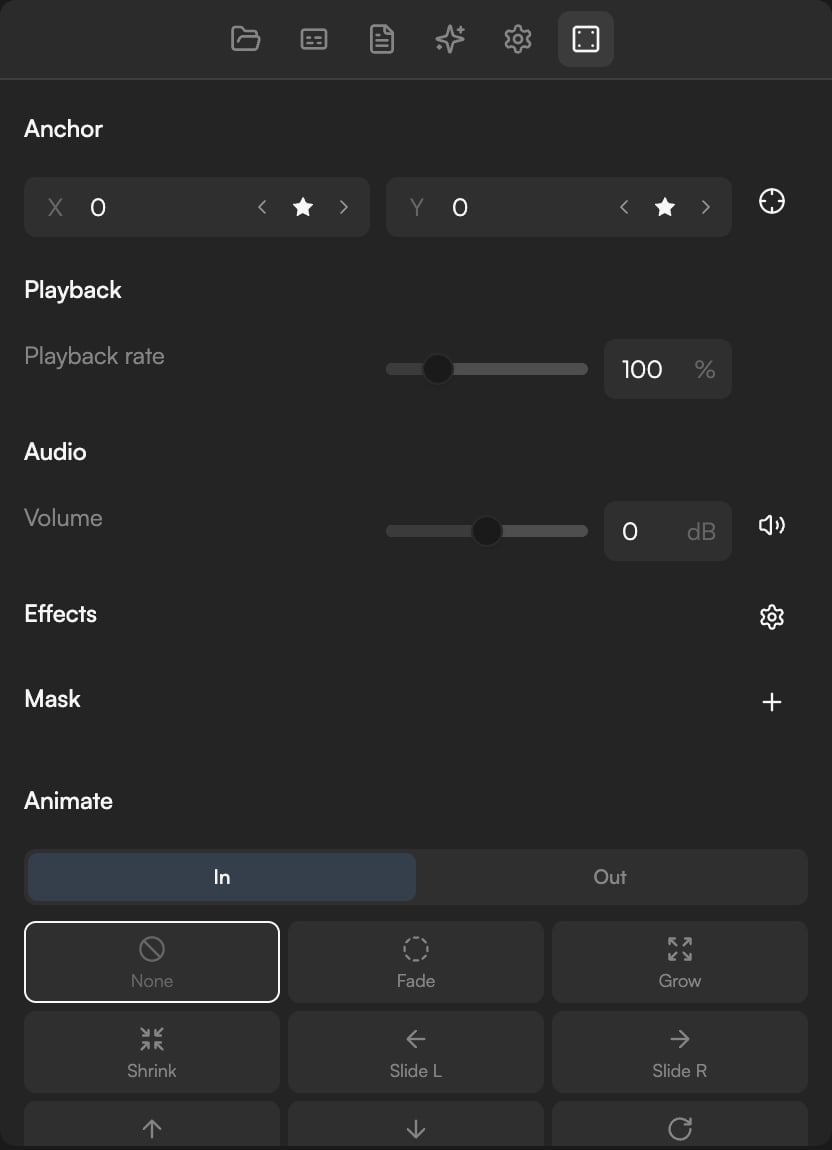
**Animate** holds **In** and **Out** presets: **None**, **Fade**, **Grow**, **Shrink**, **Slide L**, **Slide R**, **Slide Up**, **Slide Dn**, **Spin** and **Twist**. As the section notes, "Applying a preset replaces existing keyframes of the properties it animates." Durations, easing and hand-placed keyframes are covered in [Animate clips with presets and keyframes](/editor/animation-and-keyframes).
## Working on the canvas
Preview doubles as a canvas: text and shape clips can be selected, moved and resized there directly, with alignment and distribution tools and an eyedropper for colours. Right-click a clip in Preview for:
* **Bring forward** and **Send backward** to change stacking order between overlapping clips
* **Copy properties** and **Paste properties** to carry position, size, opacity and effects from one clip to another
## Ask the agent instead
Anything in the Inspector can be set by describing it, for example "Scale the B-roll to 80% and put it in the top-right corner", "Desaturate clip 3 and add a soft vignette-style mask" or "Bring the logo above the footage". The agent applies the change and lists it in a **Timeline changes** card you can revert. See [Prompting](/editor/prompting).
## Continue
* [Text and shapes](/editor/text-and-shapes)
* [Animate clips with presets and keyframes](/editor/animation-and-keyframes)
* [Transitions](/editor/transitions)
* [Edit clips](/editor/edit-clips)
## Shadow
Images and shapes have a **Shadow** section. Click **Add Shadow**, then the **Configure Shadow** button, to set a **Drop Shadow** with **Offset X**, **Offset Y**, **Blur** and **Color**. **Remove Shadow** takes it off again. Text has its own Shadow section with the same fields, alongside **Scale**, **Stroke**, **Glow** and **Text FX**; see [Text and shapes](/editor/text-and-shapes).
## Animate
**Animate** holds **In** and **Out** presets: **None**, **Fade**, **Grow**, **Shrink**, **Slide L**, **Slide R**, **Slide Up**, **Slide Dn**, **Spin** and **Twist**. As the section notes, "Applying a preset replaces existing keyframes of the properties it animates." Durations, easing and hand-placed keyframes are covered in [Animate clips with presets and keyframes](/editor/animation-and-keyframes).
## Working on the canvas
Preview doubles as a canvas: text and shape clips can be selected, moved and resized there directly, with alignment and distribution tools and an eyedropper for colours. Right-click a clip in Preview for:
* **Bring forward** and **Send backward** to change stacking order between overlapping clips
* **Copy properties** and **Paste properties** to carry position, size, opacity and effects from one clip to another
## Ask the agent instead
Anything in the Inspector can be set by describing it, for example "Scale the B-roll to 80% and put it in the top-right corner", "Desaturate clip 3 and add a soft vignette-style mask" or "Bring the logo above the footage". The agent applies the change and lists it in a **Timeline changes** card you can revert. See [Prompting](/editor/prompting).
## Continue
* [Text and shapes](/editor/text-and-shapes)
* [Animate clips with presets and keyframes](/editor/animation-and-keyframes)
* [Transitions](/editor/transitions)
* [Edit clips](/editor/edit-clips)