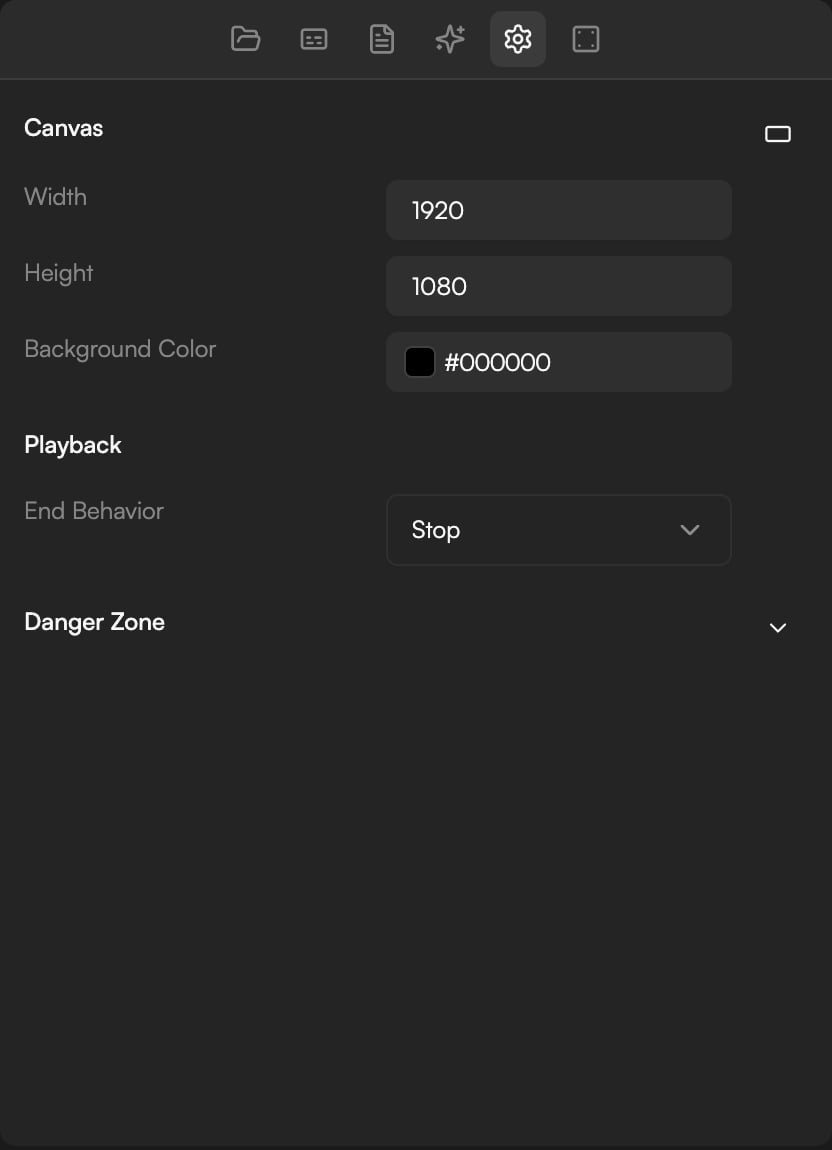
Project settings describe the canvas your video is drawn on: its size and aspect ratio, what shows through where nothing is placed, and how Preview behaves when it reaches the end. They live in the Settings panel inside the editor, which is separate from your account Settings page (see Settings). Open the Editor layout and click the Settings icon in the left panel bar.
Settings panel in the editor showing the Canvas section with the aspect ratio picker, Width, Height and Background Color, and the Playback section

Canvas

Aspect ratio and size

New projects start as Wide 16:9 (1920 × 1080). The aspect-ratio button in the Canvas section header opens a picker with five presets: For any other size, type Width and Height in pixels.
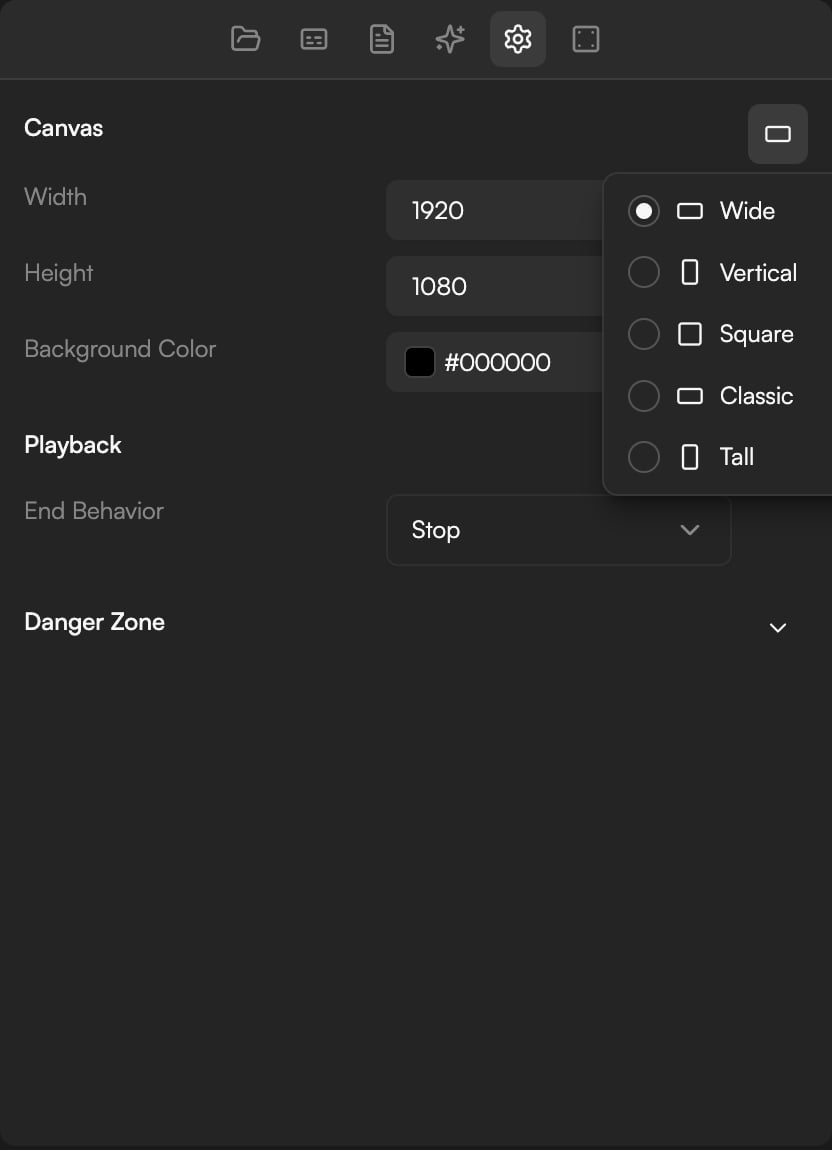
Aspect ratio picker open with Wide, Vertical, Square, Classic and Tall, and a vertical canvas in Preview behind it
Clips are not re-cut when the canvas changes, but they may no longer fit the frame. Check Preview after switching and reposition or rescale anything that looks wrong from the Position and Layout sections of the Inspector; see Inspector: clip properties.
Decide on the aspect ratio before you ask the agent to build the edit. For several formats of the same video, finish one, then use Duplicate in the project menu on the Home page and switch the copy’s aspect ratio; see Home and projects.

Background Color

Background Color fills any part of the canvas no clip covers, for example the bars beside a landscape clip on a vertical canvas, or the space around a scaled-down photo. Black (#000000) by default. Use the picker’s eyedropper to match a brand colour.

Playback

End Behavior controls what Preview does when playback reaches the end of the Timeline:
  • Stop: the playhead stays on the last frame.
  • Loop: playback starts again from the beginning, useful when you are polishing a short.
  • Reset: the playhead jumps back to the start and waits.
This only affects Preview in the editor. Exported files always end at the last frame.

Frame rate

Projects run at 30 fps. That is the grid the Timeline, frame stepping ( / ) and keyframes use. You can still export at 24, 25, 29.97, 30, 50, 59.94 or 60 fps from the Export Settings dialog; see Export video.

Danger Zone

Danger Zone at the bottom of the panel is collapsed by default. Expand it to find the option that resets the whole composition; a confirmation dialog warns that this cannot be undone.
Resetting the composition is not covered by ⌘Z. If you might want the edit back, save a snapshot in Version history first, or duplicate the project; see Version history and autosave.

Rename the project

Click the project title in the top bar and type a new name. You can also use Rename in a project’s menu on the Home page; see Home and projects.

How the canvas affects export

The Resolution options in the Export Settings dialog (720p, 1080p, 1440p, 4K) are scaled from the canvas, not fixed to landscape sizes. A Vertical 1080 × 1920 project exported at 1080p is 1080 × 1920; at 4K it is 2160 × 3840. Which resolutions are available depends on your plan. See Export video and Plans and credits.

How the canvas relates to Storyboard

Generation on the Storyboard has its own aspect menu (Auto-select, Square (1:1), Landscape (16:9), Portrait (9:16), Standard (4:3), Portrait (3:4), Cinematic (21:9)), and the agent’s generation settings offer a similar set of aspect ratios. Pick the one that matches your canvas so generated shots fill the frame when they reach the timeline. A shot in a different ratio will not fill the canvas; scale it in the Inspector or trim the edges with a mask.

Ask the agent instead

“Make this project vertical”, “Change the background to white” or “Set the canvas to 1080 by 1350” all work from the chat. The agent changes the settings and reports the result; see Prompting.

Continue