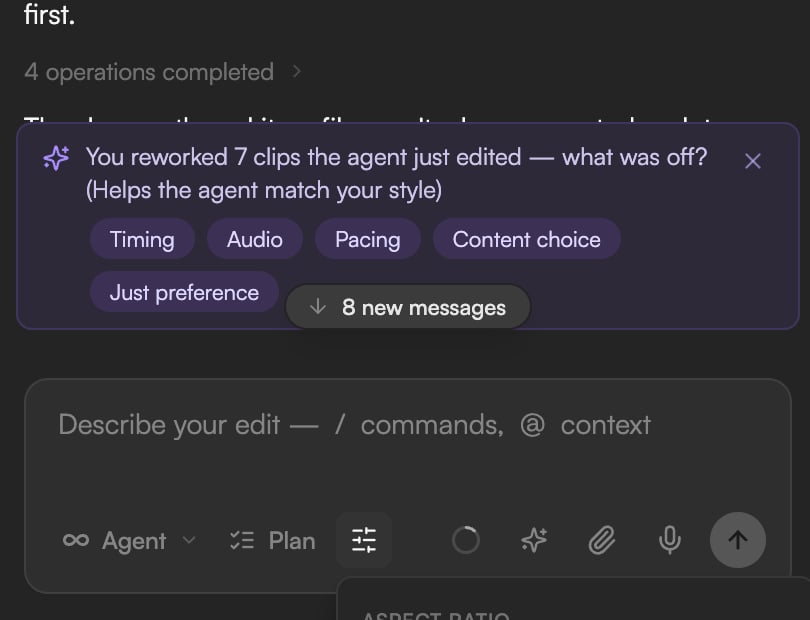
@ references, / commands, attachments and generation settings make your prompts precise. Read this after Meet GoFrame Editor Agent.
Describe the edit
Say what you want and where. Name the clip, track or moment when it matters, and state the outcome rather than the steps.
Under the text field sit the chat mode dropdown, Plan, Generation settings, Select AI models (✦), Attach files, Voice input and Send message. The rest of this page covers each of them.
Reference clips, assets and transcript with @
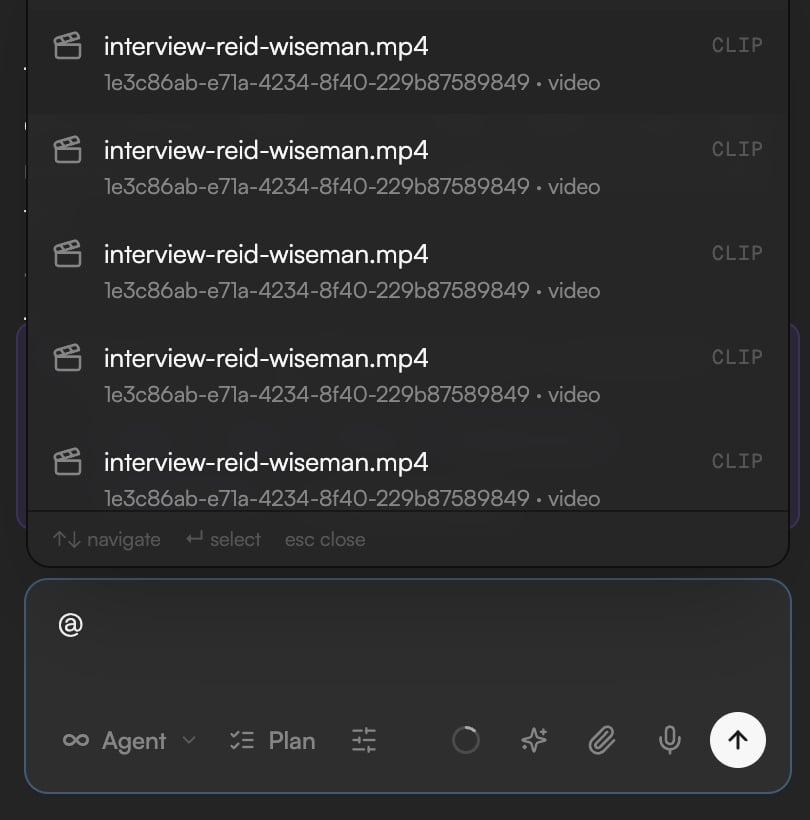
Type@ to open the Assets & Clips palette. It lists the Clips on the timeline and the assets in the Media pool. Pick an entry and it is inserted into your message as a reference the agent can resolve exactly. Selecting a clip on the timeline also adds a context chip with its asset name above the composer, so the agent knows what you are looking at.
@a clip when you mean one specific item on the timeline (“trim @intro-take-2 to 8 seconds”).@an asset to use a file that is not on the timeline yet (“put @logo.png in the corner for the whole video”).- To point the agent at spoken content, use Add to chat in the Transcript panel (below).
Add a passage from the Transcript panel
In the Transcript panel, select a passage and click Add to chat. The text arrives in the composer with its timing, so you can say “make this the opening line” or “cut everything between these two sentences”. See Edit video by editing text.Run commands and skills with /
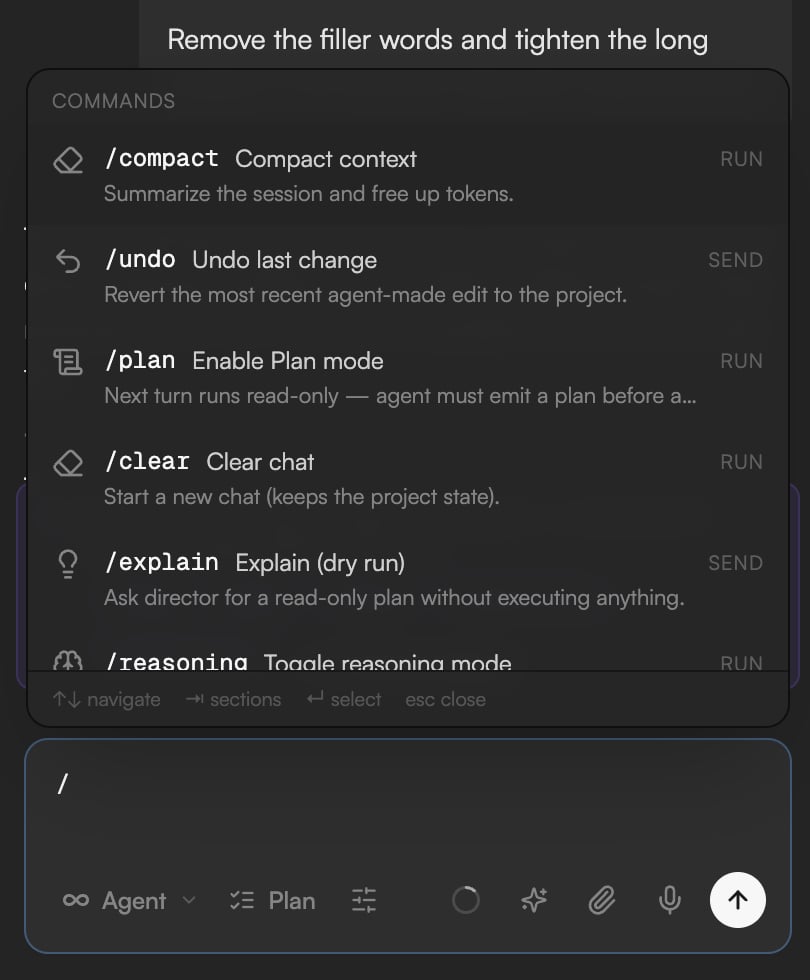
Type/ to open the command palette. It has two sections: Commands, each tagged RUN or SEND, and Skills, each tagged with what it does (GENERATE, EDIT and so on) and a hint for the argument it takes. Skills are the agent’s specialized abilities (see Skills and workflows).
Any skill can be called the same way, for example
/image-gen a neon-lit rainy street at night.
Attach files
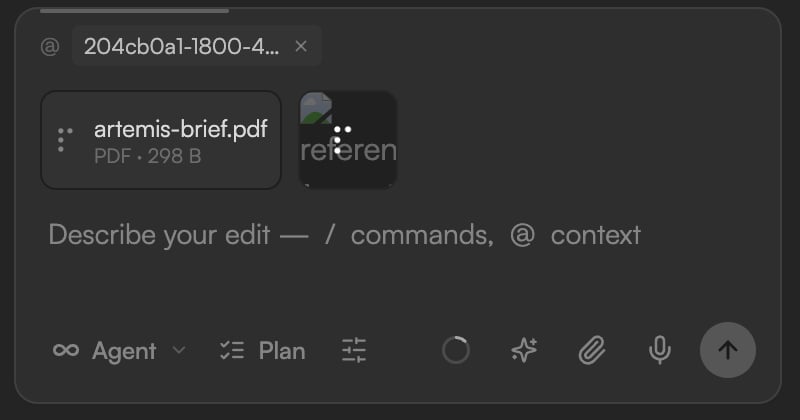
Drag files onto the chat or click Attach files in the composer to add context: a script, a brief, a brand PDF, a shot list. Attached files appear as chips above the text (for example artemis-brief.pdf · PDF · 298 B, or a thumbnail for an image).- Up to 10 files per message, 25 MB each.
- Supported: images, PDF, text (
.md,.txt,.csv,.json) and Office documents (.docx,.xlsx,.pptx). Older Office formats are rejected; convert them first. - Video and audio are not chat attachments. Add them through the Media pool, then reference them with
@. See Import media.
Use voice input
Click Voice input in the composer or press⌘⇧M (Ctrl on Windows) to dictate a prompt. Speech recognition runs locally in your browser; the first time you use it, a small model downloads (“Loading model… N%”). Pick the language from the button’s menu (Auto-detect, English or Russian), speak, then click Stop and transcribe. The text lands in the composer for you to edit before sending.
Set generation options
The Generation settings button (sliders) in the composer opens the options for image and video prompts:- Aspect ratio: Auto, 16:9, 9:16, 1:1, 4:3, 3:4, 4:5 or 21:9.
- Duration: Auto or a clip length. The choices follow the selected video model (4s, 6s or 8s with the default model).
- Audio: Auto, On or Off.