

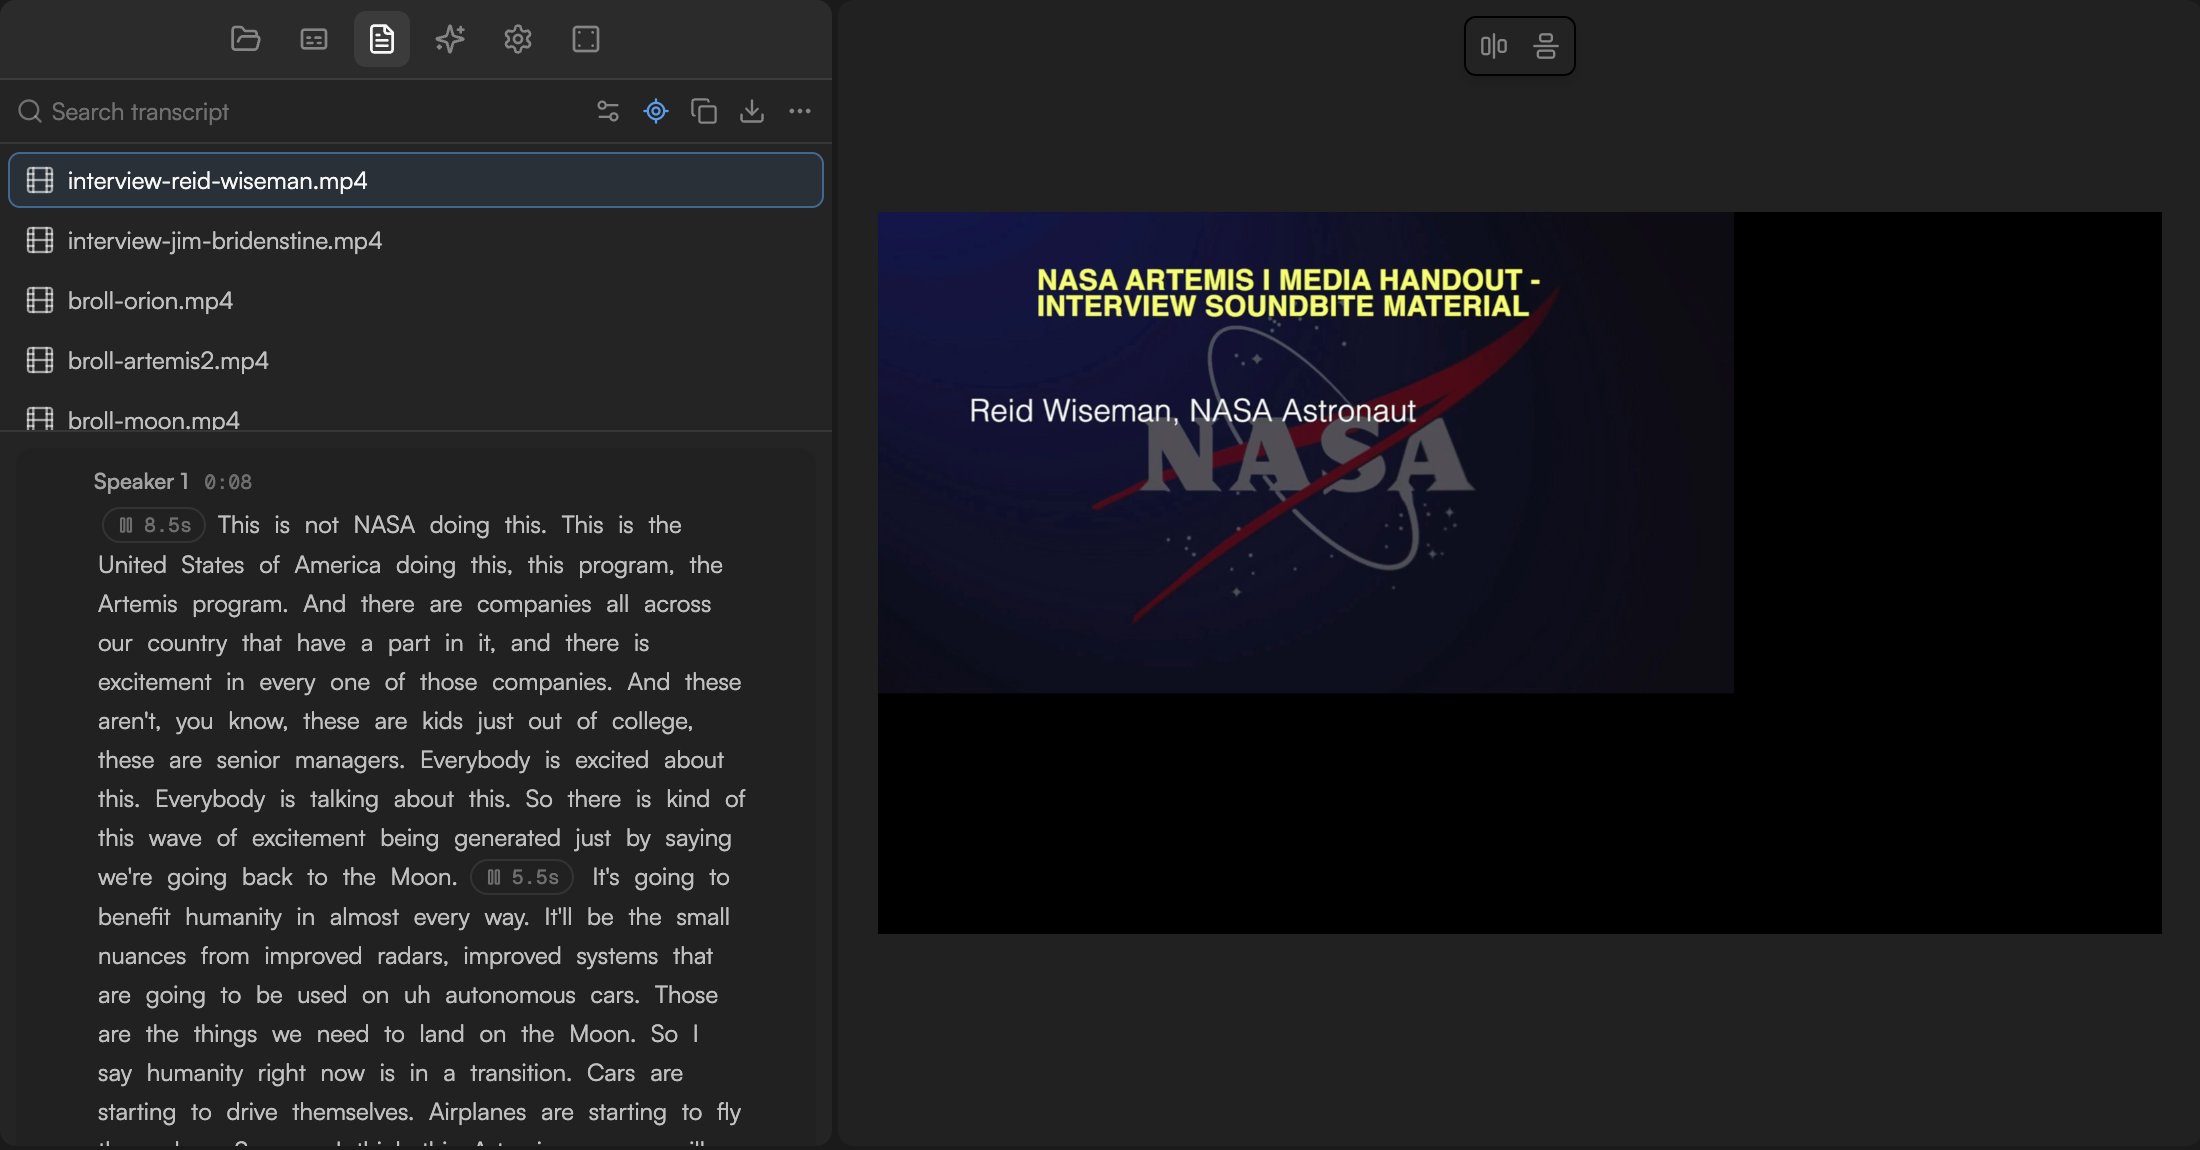
Panel tour
- Each transcribed clip on the Timeline gets its own block, in Timeline order, with a speaker label and timestamp on every paragraph (“Speaker 1 0:08”). A file that is in the Media pool but not on the Timeline shows Add this file to the timeline to view and edit its transcript.
- Search transcript at the top filters to matching words.
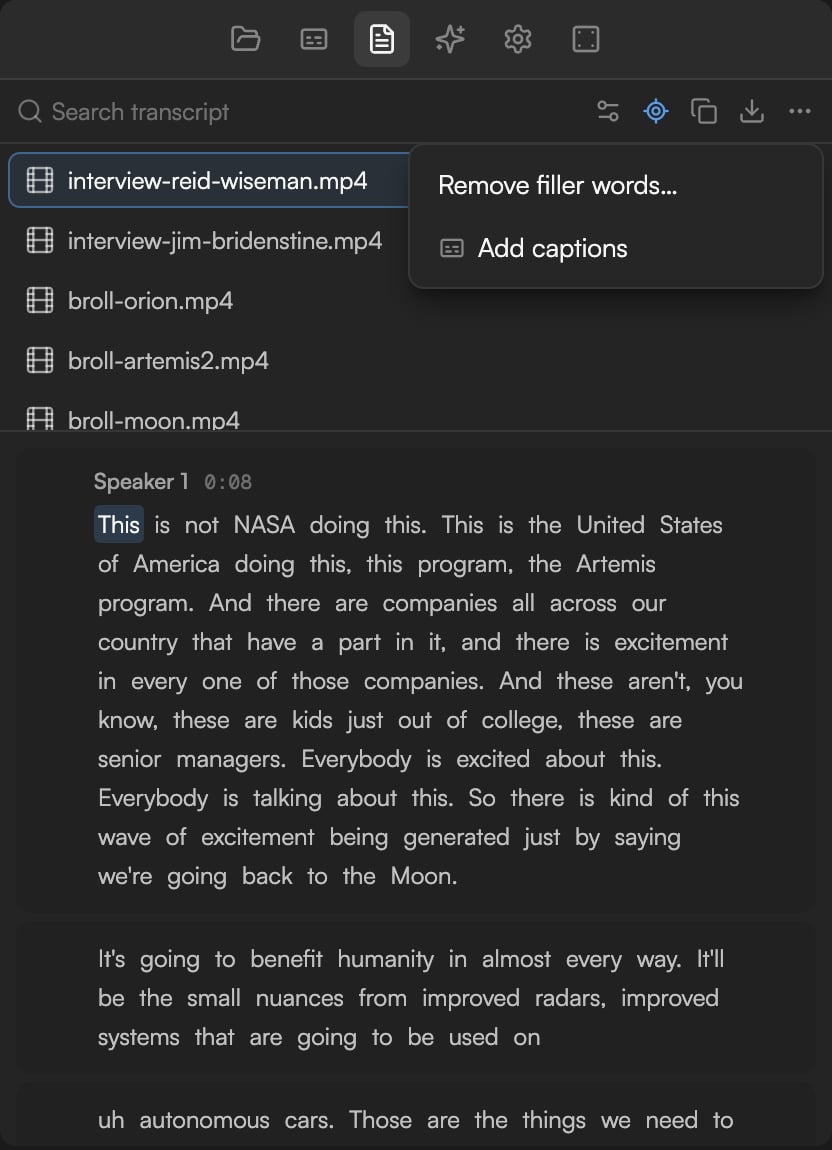
- The header icons are transcription settings, Follow playhead (scrolls the panel and highlights the word being spoken during playback), Copy transcript, Download and a ⋯ menu with Remove filler words… and Add captions. Re-transcribe is available per file.
- Filler words are highlighted when Keep filler words was on at transcription time.
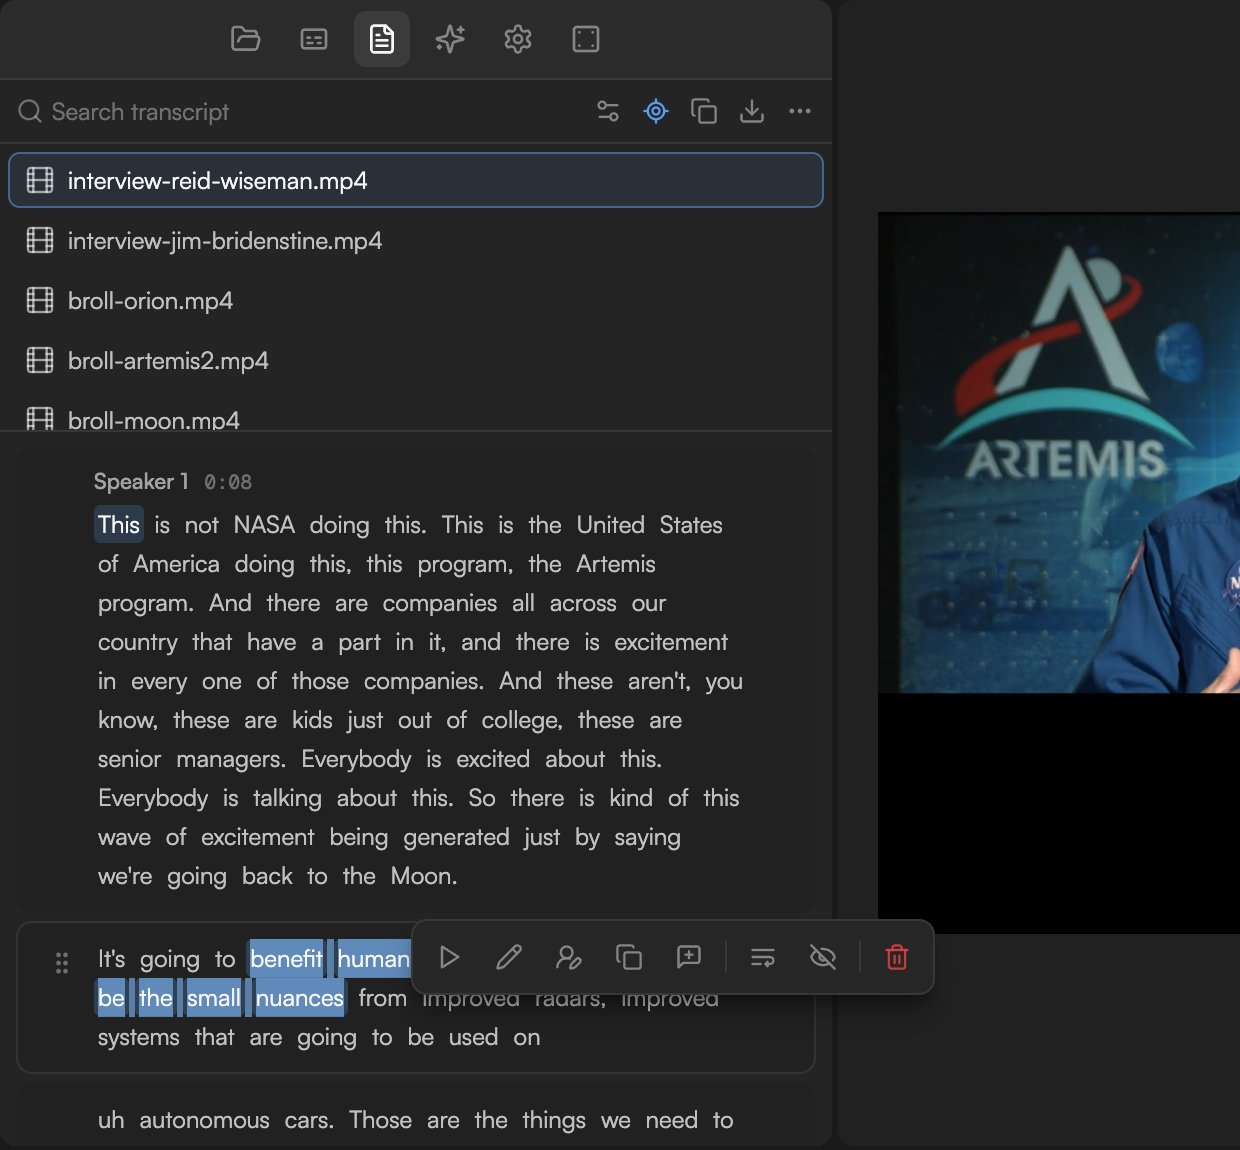
Select and act
Select one or more words (click and drag, or double-click a word) to show the floating selection toolbar.
Deleting from the middle of a clip splits it in two on the Timeline; that is expected, and
⌘Z undoes it.
Pauses and gaps
Silences between words appear as pills showing their length, such as 8.5s. Select the words around a pause and click Remove pause to trim that silence from the Timeline. For a whole clip at once, select it on the Timeline and choose Smart actions → Remove Silences in the Timeline toolbar. The agent also does this on request (“remove all the long pauses”).Reorder segments
Drag a paragraph by its handle to move that passage earlier or later; the clips on the Timeline move with it.Speakers
Speaker detection labels each voice as it was transcribed. Double-click a speaker name to rename it (Double-click to rename speaker); the name changes everywhere it appears. To fix a wrong label on a passage, select it and use Change speaker.Remove filler words
1
Open the tool
Choose Remove filler words… from the ⋯ menu. Every filler is highlighted and the panel reports how many it found.
2
Review
Scroll through to check the highlights before removing them. To remove a single filler instead, select it and choose Delete selection.
3
Remove all
Click Remove all. Each filler is cut from the Timeline and shown struck through in the transcript.
Filler removal only sees words that were transcribed. If Keep filler words was off, re-transcribe with it on. See Transcribe media.
Copy and export
- Copy transcript in the panel header copies the full text of the Timeline’s transcript.
- Download in the panel header exports the transcript as TXT, SRT or VTT to use it outside GoFrame Editor, for example as a subtitle file for another platform.
- A Project for editing (NLE) export can also include a caption
.srtfile; see Export for Final Cut, Premiere and Resolve.
Ask the agent instead
Everything above is available in plain language, and the agent can go further because it understands the content:- “Remove filler words and pauses longer than a second.”
- “Cut every repeated take and keep the best one.”
- “Extract three 30-second highlights about pricing.”
- “Delete the part where I talk about the old logo.”