

Open the Storyboard
Click Storyboard in the footer, next to Timeline. The board and the timeline share the same project and Media pool. Click Timeline to switch back.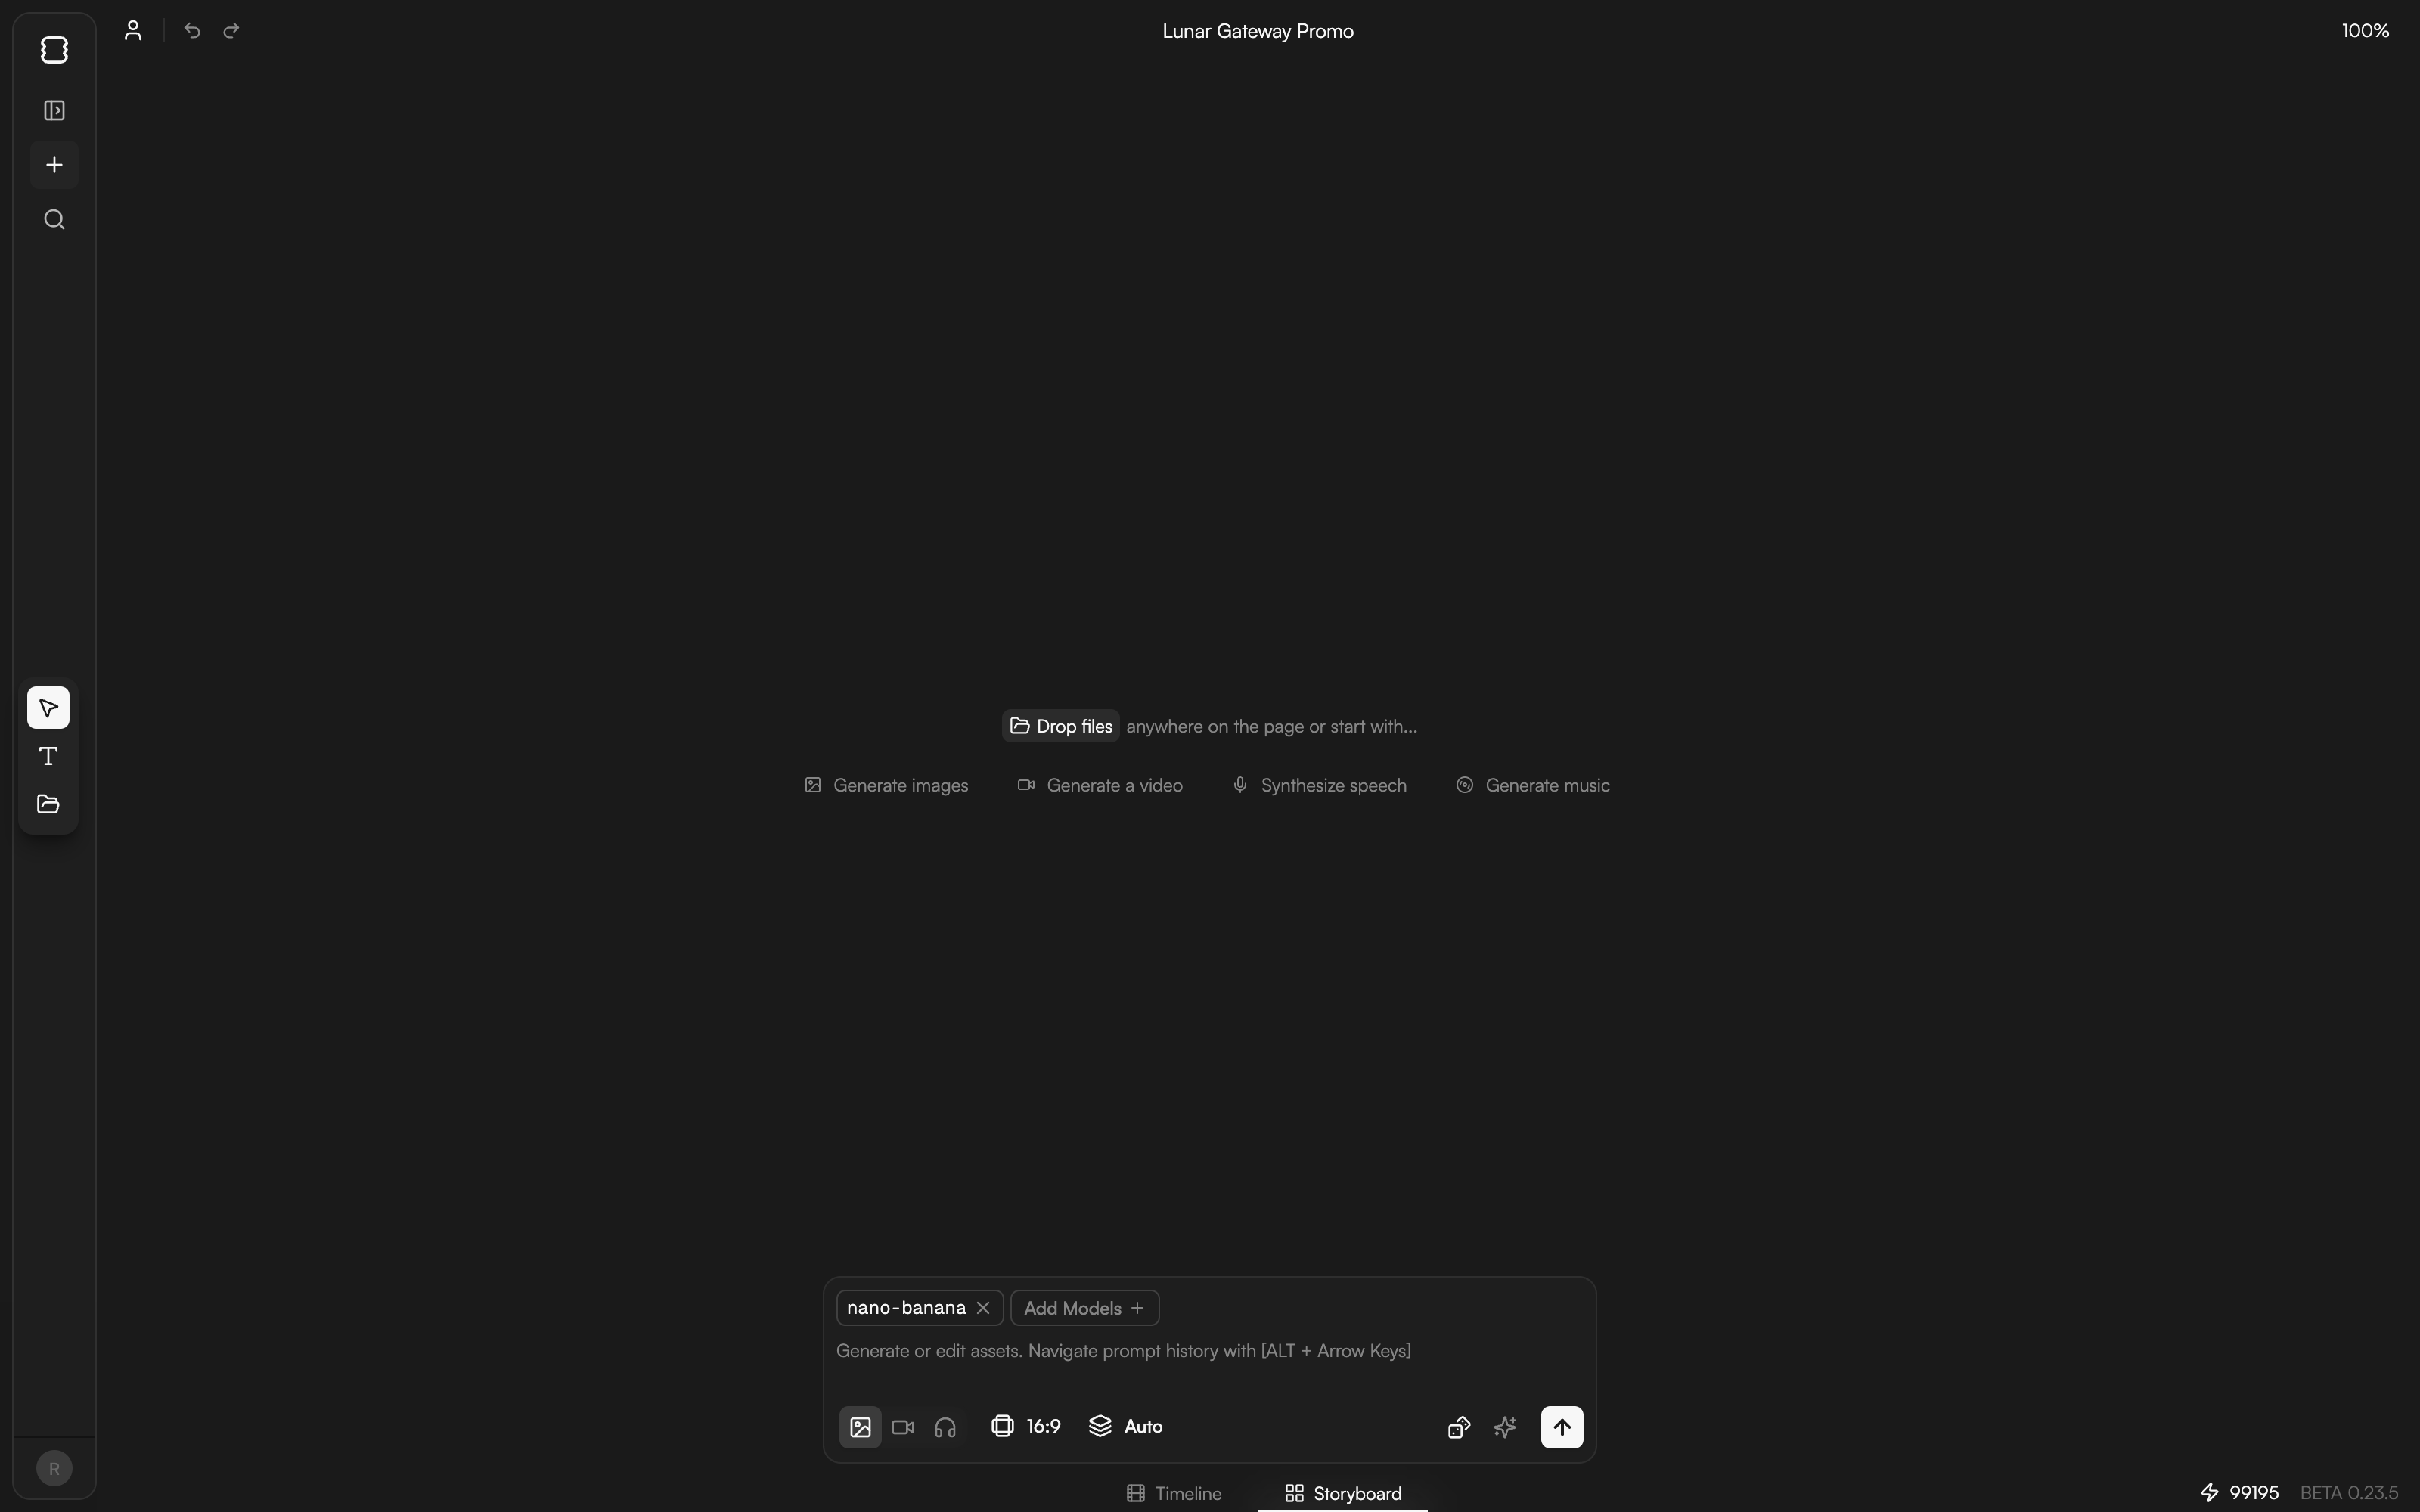
What’s on the board
- Nodes. Images, videos, audio and text notes, each shown as a card on the board.
- Scene frames. Frames that group nodes into one shot, so a storyboard reads left to right as a sequence. Ask the agent to lay them out for you.
- Tool rail. On the left: Select to pan and select, Text to add a note, Media pool to open your assets. Drop files anywhere on the page to add them.
- Top bar. Undo and redo, the project title and the current zoom level (100% to start).
Generate from the prompt bar
The prompt bar at the bottom of the board generates straight onto the canvas.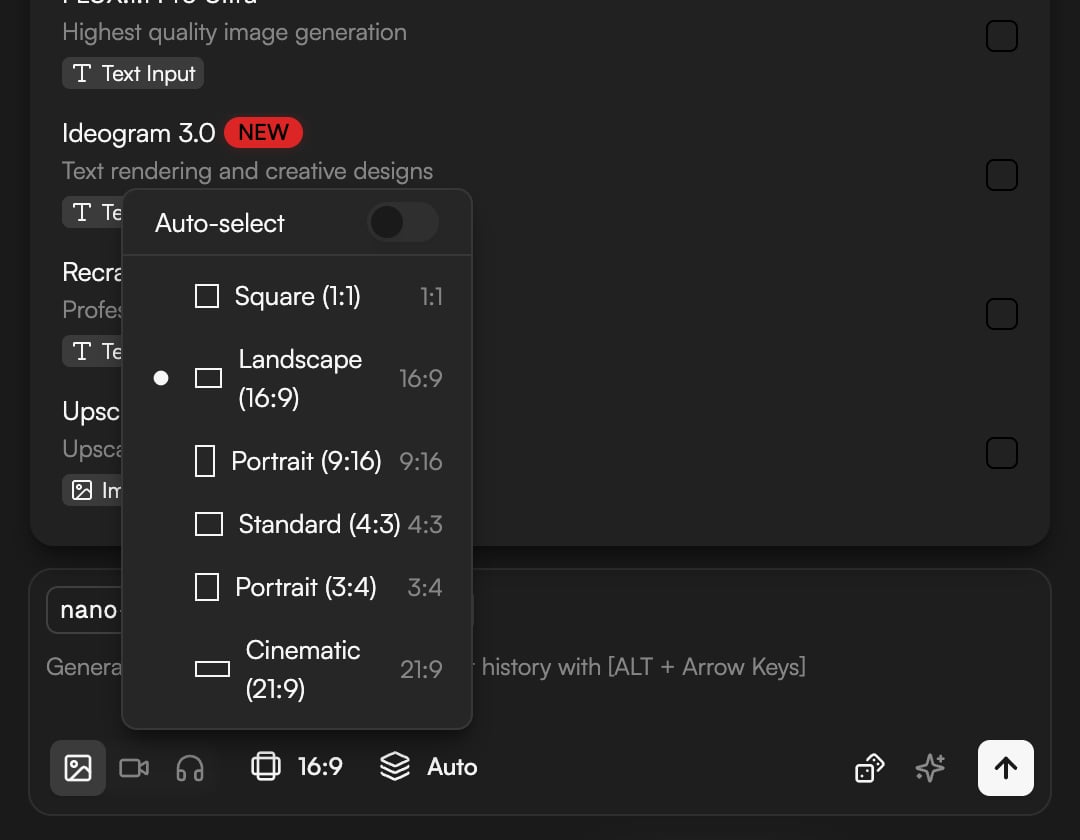
1
Write the prompt
Type into the prompt bar (placeholder: “Generate or edit assets. Navigate prompt history with [ALT + Arrow Keys]”). Use
⌥ (Alt) + arrow keys to step through your prompt history. Click the enhance-prompt button to expand a short idea into a fuller prompt.2
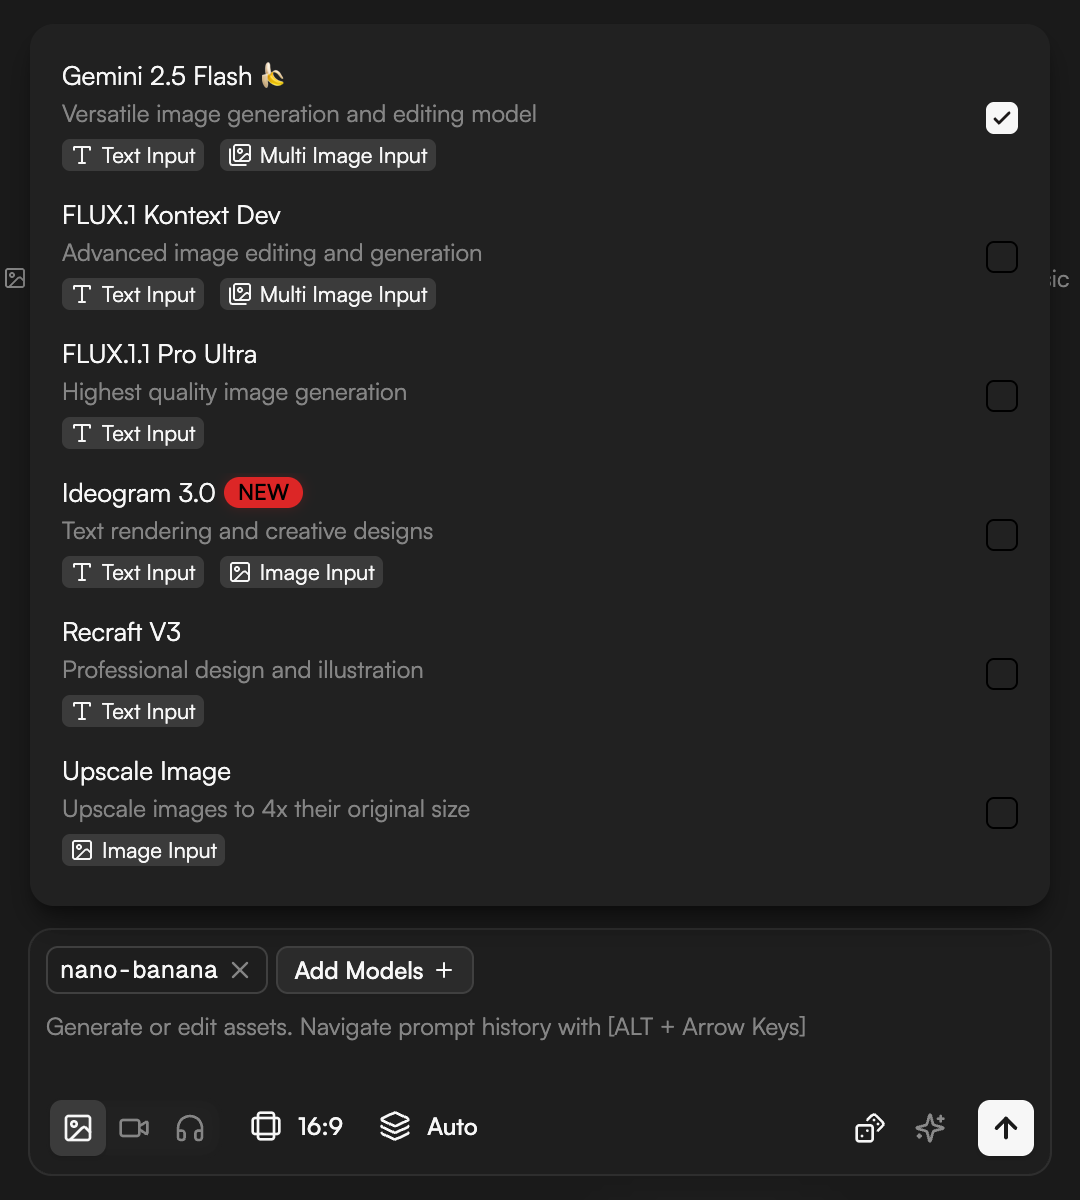
Set the model and options
The model chip shows the current model; click Add Models to pick another. Use the type icons to choose image, video or audio, the aspect menu (Auto-select, Square (1:1), Landscape (16:9), Portrait (9:16), Standard (4:3), Portrait (3:4), Cinematic (21:9)), and the variants selector, which reads Auto unless you set a number.
3
Generate
Click send. New nodes appear with a Generating… status and fill in when ready. The bar also edits assets: select a node and describe the change.
Node actions
Select a node to work with it. From a node you can make more takes of the same prompt, turn an image into a video clip, upscale it, add sound to a silent clip, or add it to the Media pool. The same requests work in the chat (“animate the second option”, “upscale the one on the left”), which is often faster.Get shots onto the timeline
- Drag a node. Drag it from the board onto the timeline, or add it to the Media pool first and place it from there.
- Assemble. Once each Scene frame holds the shot you want, ask the agent to assemble the scenes on the timeline in order.
Ask the agent
The agent edits the board through thecanvas-edit skill. It creates, renames, reorders and removes Scene frames, places media and notes, and shows placeholders on the board while generations run.
/storyboard runs the storyboard-preview skill: a review-ready storyboard of the current project, one card per shot. /director goes further and runs the whole pipeline (Concept → Structure → Draft → Refine → Polish → Export), generating reference images and shots into the board and assembling them.
Tips
- One idea per Scene frame. Put recurring details (character description, palette, “golden hour”) in a text note inside the frame so every generation repeats them.
- Vary shot size between neighboring scenes: wide, then medium, then close.
- Roughly one scene per 3 to 5 seconds of target length. A 30-second promo is 6 to 10 frames.
- Generate 2 to 4 variants, pick one per scene, then assemble. Iterate on the board, not on the timeline.